In this article we will explain, as simply as possible, how to brew beer without going too deep into the advanced techniques. A beer brewing starter kit is a smart place to start. Homebrewing has never been easier.
We will also explain some of the unfamiliar and perhaps slightly tricky terms, so you do not get lost in the jungle of terms and techniques.
Beer brewing for beginners, simply explained
You can make it as simple as you like, and you can make it as advanced as you like. The process is largely the same, regardless of whether you brew beer in a cheap stockpot or have a professional brewery costing over a million. More advanced, and often more expensive, equipment will often make your brew day easier in several ways. There are lots of gadgets and gizmos that can simplify the process, or simply make the whole thing a bit more fun.
The brew day itself will take you a few hours, so you should not be in a hurry. Certainly not the first time you brew. Set aside plenty of time at the start, and expect the brewing process to take 4 to 6 hours including cleaning. Large parts of the brewing process run by themselves, which means there will be a fair amount of waiting. Use the waiting time wisely: clean equipment, weigh out hops and additions, and the process will go as smoothly and quickly as possible!
So, what does it take to transform the ingredients into a refreshing glass of your own beer? The brewing process can be summed up in 6 steps.
- Mashing
- Sparging
- Boiling
- Chilling
- Fermentation
- Bottling/kegging

1. Mashing the wort
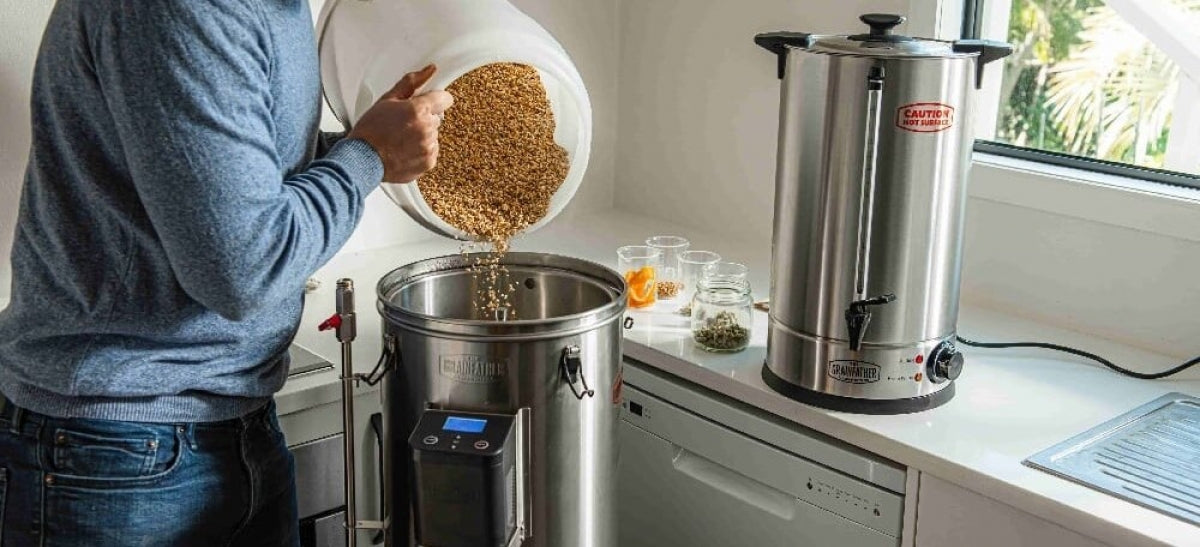
Mashing, or to mash, is a term that basically means mixing hot water and crushed malt (grain). To make it easy to understand, you can compare mashing to brewing a cup of tea or coffee.
The amount of water varies quite a bit depending on the equipment you brew with and what your recipe looks like (the more malt, the more water is needed). If you brew with a ready-made beer kit, this is usually stated in the brewing instructions for the kit. There is basically no single right answer, and there is not much risk of getting it wrong either. A rule of thumb for water volume is about 3 litres of water per kilo of malt, and it should look like a slightly thin porridge.
Temperatures
Temperatures also play an important role. If you follow a beer kit or a recipe, the mash temperature will be stated in it. To explain the effect of temperature in a simple way, we can say that it affects how much sugar the yeast will eat.
Low temperatures of around 60 to 63 degrees give a beer that ferments out easily. There will be little residual sweetness, and the beer can come across as thin and dry. This is desirable for certain styles such as Belgian beers, sour beers and light pilsner styles.
Medium temperatures of 64 to 66 degrees give a balanced beer with some residual sweetness. This is where the vast majority of beers sit, such as IPAs and pale ales.
High temperatures of 67 to 70 degrees give a sweet beer with lots of body. This is often desirable for big beers such as imperial stout, NEIPA and bock.
Once the water and malt are well mixed, all you have to do is wait, and make sure to hold the temperature according to the recipe. How long you should wait varies, but around 60 minutes is common. It is no problem if it stands too long either. Some brewers even choose to leave it for hours. During this process, the starch in the grain is converted into sugars that the yeast will eat, and that is what we want.
When the mash has stood as long as the recipe says, we need to separate the sweet liquid from the grain. This liquid is now called wort. How this is done in practice depends on the brewing equipment you use. In most cases there is a malt pipe that can be lifted up and hooked onto the top of the kettle, so that the wort drains out and the malt stays in the pipe. Now we are ready for the next part of the process.
2. Sparging the malt
Once the liquid has drained from the malt, it is time to sparge the malt. This is for two reasons: one is to get all the sugar out of the malt, and the other is to get the right amount of wort in the kettle before the boil. For this you need clean water at around 75 to 80 degrees (never above 80: that can give some harsh flavours you do not want in your beer).
Simply pour the water over the malt and let it drain down into the kettle. Use a measuring jug or similar, pour on a little water at a time, and let it run through before you add more. The key here is to take plenty of time. That way you get as much sugar as possible out of the mash. How much water you need for this depends on the recipe and equipment, but in most cases it will be stated. In the end you should be left with a kettle full of wort, and it is time to start the boil.
3. Boiling the wort
Turn the heat up full blast. Now it is time for a good boil! Once you have reached a “rolling boil”, you can start the timer. The boil time varies by recipe, but the vast majority of recipes use 60 or 90 minutes. During the boil you add the hops for bitterness and flavour, and any other additions. For example a fining agent to avoid hazy beer, or yeast nutrient to make sure your yeast thrives.
There are several reasons why we want to boil the wort:
- Evaporating water, to ensure the correct volume and sugar content.
- Sanitising the wort to remove all bacteria and the like that could give a poor result.
- Boiling the hops to extract their bitterness. The longer the hops are boiled, the more bitterness they give (a process called isomerisation of the hops).
- Caramelisation of the sugar in the wort.
- Boiling off DMS (dimethyl sulphide). Put simply, DMS is an unpleasant off-flavour that forms during the mashing process. The flavour can be reminiscent of canned corn or cooked cabbage. DMS is released and evaporates during the boil, and this is perhaps the most important reason why we boil the wort.
4. Chilling and transfer to the fermenter
Towards the end of the boil you should sanitise your chiller. If you have an immersion chiller (coil chiller), it can be placed in the boiling wort for the last fifteen minutes, so that any bacteria on its outside are killed. The same applies if you use a counterflow chiller: you can pump boiling wort through it for a few minutes to be sure it is sanitised on the inside. Then the chilling can begin. It is important that this is done as quickly as possible, otherwise DMS can form again. Where the temperature should stop again depends on the recipe, and not least which yeast types are used. This is usually stated in the recipe.
As the wort now cools down, it becomes vulnerable to bacteria and other nasties that can spoil your beer. From this point on it is therefore very important that everything that comes into contact with the wort is clean and sanitised with Star-San or a similar sanitiser.
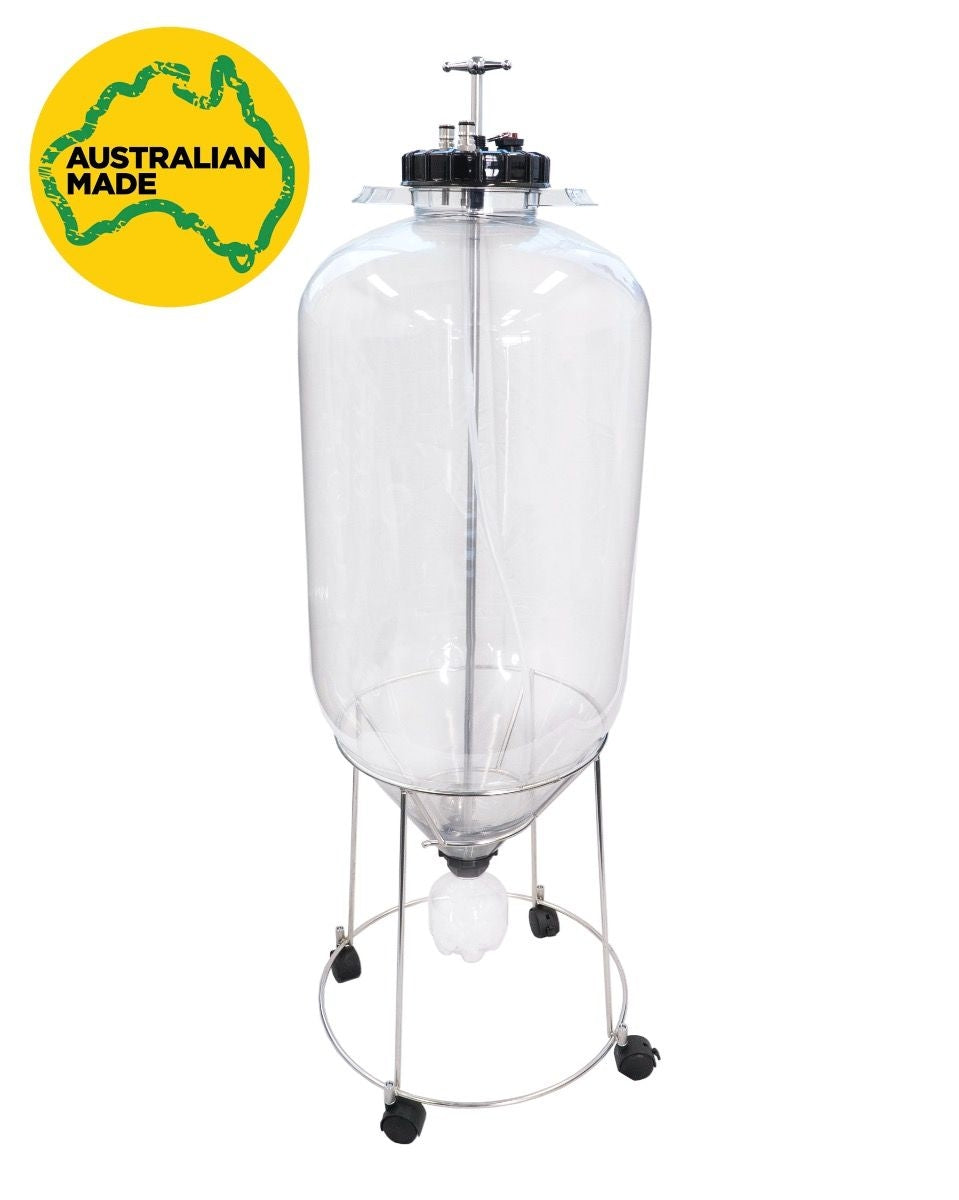
It cannot be stressed enough how important cleanliness is for a good product. Here it is important to remember every detail, such as fermenters, hoses, stirrers and taps. Fill the fermenter with 10L of cold water and Star San (15ml per 10L of water), put the lid on and shake well. Afterwards you can throw in the airlock, hoses and so on. After you have emptied the sanitiser out of the fermenter, and preferably rinsed it with clean water, you should put the lid on so that no bacteria get in while you wait for the wort to be transferred.
Another good tip is to fill a spray bottle with diluted Star-San that you can spray wherever it is needed. You may also want to wear protective gloves to protect the wort from bacteria, and yourself from chemicals.
When the wort has cooled to fermentation temperature, you can transfer it to the fermenter. Keep it covered with the lid as much as possible during the transfer. If you use a counterflow chiller, you pump the wort over to the fermenter while it is being chilled.
5. How to ferment beer
You have now been through the brewing process and have a bucket or fermenter full of wort. Now you add the yeast (often called pitching the yeast), put the lid on and shake in the yeast before fitting a sanitised airlock. From here the yeast takes over the job of turning the wort into alcohol and flavours. Your job from here on is to make sure the yeast is as happy as possible. Temperature in particular plays a part. Read more about this in our article on temperature control.
The temperature it needs varies from yeast type to yeast type, and will usually be stated either in the recipe or on the yeast packet. The most important thing here is to keep the temperature as stable as possible throughout. Avoid, for example, a room that holds 25 degrees during the day and 15 degrees at night. The yeast does not like that, which can lead to a number of less pleasant flavours such as buttered popcorn, sticking plasters/bandages, green apples, vomit and much more. Apart from cleanliness, fermentation temperature is possibly the most important thing you can influence for a good result. Remember that the brewer makes wort, but it is the yeast that makes beer.
It is also important to respect the time it all needs to ferment. Even if the wort may have fully attenuated (the yeast has eaten all the sugar it is going to), even a healthy, vigorous yeast will produce off-flavours. This is something it cleans up itself, as long as it is left long enough. The vast majority of beers have a fermentation time of 2 to 4 weeks. When the stated fermentation time is over, you can take a sample with a hydrometer to check whether the right amount of sugar has been eaten (final gravity reading). If it matches the recipe, the beer has finished fermenting and you can bottle it.
How do you measure the alcohol in the finished beer?
To measure how much alcohol there is in your finished beer, you need to use a hydrometer to measure the amount of sugar (gravity) in the beer. This is called an OG reading (OG stands for Original Gravity). You also need to take a reading after fermentation. That reading is called FG (Final Gravity). There are several calculators online that can work this out for you, unless you would rather do it manually with the following formula: (OG − FG) × 131.25 = ABV%, for example (1.050 − 1.010) × 131.25 = 5.25 %. If you give OG and FG in gravity points (50 and 10 instead of 1.050 and 1.010), the formula becomes (OG − FG) / 7.6 = ABV%.
6. Bottling beer
At last the process is done, and there is only one thing missing before you can call the result beer: carbonation. This is something we prepare when bottling the beer. Get out caps, beer bottles and whatever equipment you need. Sanitise it with Star-San or similar. The cleaning process is just as important here as before, and a slip-up here can in the worst case ruin a beer that was good to begin with.
Carbonating the beer can be done in several ways. The most common method is to add small amounts of easily fermentable sugar such as dextrose, so that the yeast has a little more to chew on once it is in the bottle. The yeast will then produce CO2, carbonation. After a couple of weeks at room temperature this process will be complete. You can now put a bottle in the fridge and enjoy a fine piece of craftsmanship.
If you want to make this even easier, you can use a keg instead of bottles. You then transfer the beer to a Cornelius keg and carbonate it with CO2 gas. With one keg instead of many bottles you save a lot of time on cleaning. It is also easier to achieve the right carbonation level with gas than with sugar. Read more in our article on carbonating beer in a keg.
Further inspiration for brewing beer yourself
For literature on beer brewing in general, we can recommend the following books:
- Ølbrygging fra hånd til munn, by Thomas Horne and Colin Eick
- Håndbok i ølbrygging, by Gustav Foseid
- How to Brew, by John J. Palmer